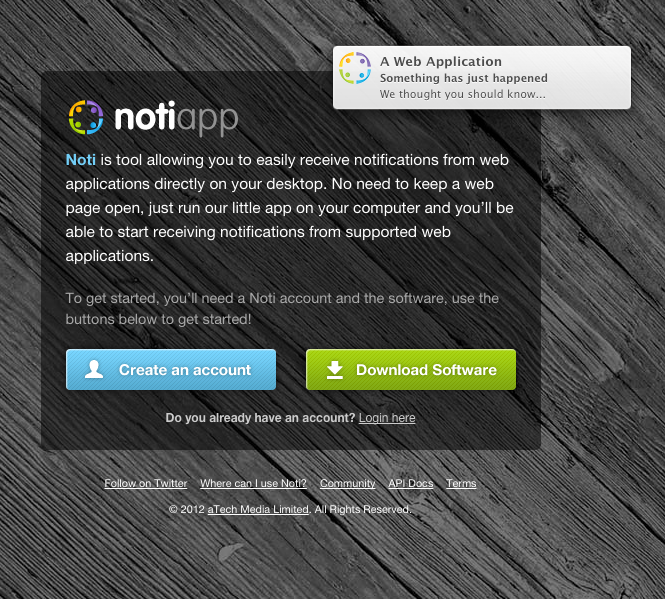
A little while ago we launched Noti which is a little tool to help sending desktop notifications from web applications to desktop machines when you're not actively browsing the website.

This tutorial will guide you through how to set up desktop notifications within a Ruby on Rails application using Noti.
Noti is a web service which allows users to receive desktop notifications from any online application without the need for their browser to be open or them to be actively visiting your website. Any user who wishes to receive notifications will install a tiny native OS X, Windows or Linux desktop application and login using their own Noti username & password
Before your application can send notifications to a user you will need to ask them to "authorise" your application. This authorisation process will provide you with a unique token which you can use as an address when sending your notifications to their desktops.
Configuring for battle
Noti provides an easy to use RubyGem which provides all the core functionality you need to get started. To begin with we will need to load this gem into our Rails application's Gemfile. Open up your Gemfile and add the following line to the bottom:
gem 'noti'
Once you have added this and saved the file, you should run bundle install to install the dependency. If you haven't already signed up for a Noti account you should do this now and create a new application within the Noti website. When you have created this application, you will be provided with a token which you need to add into config/initializers/noti.rb as so:
Noti.app = '4842e7ad-1cc5-66bf-8e4b-a9ec7ac3b828'
Be sure you replace the token above with your own application's token. Once you've done this, be sure to restart your web server processes.
Get authorisation from your users
We will assume your application has a User model which you use to identify users who login to your application. It will be this model which stores the user's Noti "token". You will need to add a new string-formatted column to your users table called noti_token.
Now we need to populate this field with a token from the user. In order to do this, we must provide a link in our application so that our users can authorise our application to send them notifications. We will first create a new controller in our application which will be responsible for handling all of these authorisation actions.
$ rails generate controller NotiAuthorisations
Now we will create some routes in our config/routes.rb file which will point to our new controller. Open up this file and add the following 2 routes.
ExampleApp::Application.routes.draw do
  post 'noti' => 'noti_authorisations#new', :as => 'setup_noti'
  get 'noti/callback' => 'noti_authorisations#create', :as => 'noti_callback'
end
Now these routes are in place, we will go ahead and add some code to our new controller. Open up your newly created app/controllers/noti_authorisations_controller.rb file. This controller will consist of two methods:
new- this will initiate a new authorisation request. If a user wishes to authorise your application, you will send them to this action.create- once a user has authorised your application with the Noti service, they will be returned to this action so we can finalise things.
class NotiAuthorisationsController < ApplicationController

  def new
    token = Noti::Token.create_request_token(noti_callback_url)
    session[:noti_rt] = token.request_token
    redirect_to token.redirect_url
  end

  def create
    token = Noti::Token.get_access_token(session[:noti_rt])
    current_user.update(:noti_token, token)
    session[:noti_rt] = nil
    redirect_to root_path, :flash => "Noti has now been configured for your account!"
  end
end
Now, lots of things happened there. Let's firstly look at the new method. This firstly requests a "request token" from the Noti API by sending a URL where the user should be returned to after they authorise your app. This returns an object which implemented two methods: request_token which contains the randomly generated token for this specific authorisation and redirect_url which is the URL which you must redirect the user to complete the authorisation. We use the first of these methods to set a session variable called :noti_rt and the second to redirect the user to the Noti website.
When the user is redirected they will be shown a message saying that you are requesting permission to send them notifications. They have the option to login or sign up for an account. Once they have completed one of these actions they will be redirected back to the URL specified when you generated the request token. If they sign up for an account, they will also be sent an email outlining how they should go about downloading the client software.
When the user is redirected, they will be sent to the create action we just wrote. This method uses the session variable we created earlier to ask Noti for a corresponding "access token" to go with the "request token". The token provided will be unique to the individual user and this must be stored along with their other information. This is the unique token used to send this user desktop notifications. This method now assumes that you have a current_user ActiveRecord instance for the currently logged in user and uses the update method to permanently store the user's Noti token. The final part of this action clears the session variable and redirects the user with a message alerting them to the fact their Noti account is now configured.
Of course, in order to start the authorisation process you will need to provide your users with a link to the 'new' action which we defined above. You can do this using a simple link_to method in one of your views:
link_to('Setup Desktop Notifications', setup_noti_path, :method => :post)
Finally, let's send a notification!
Now we have user's Noti tokens safely stored in our database, we can send them notifications! Yay!
Sending a notification is a very simple process and allows you as the application developer to choose a title, additional text, a sound as well an image to display with the notification. You can choose to send notifications from anywhere in your application but for this example, we will extend our NotiAuthorisationsController#create action to send a "welcome" notification when the user logs in.
notification = Noti::Notification.new
notification.title = "Notifications are ready to go!"
notification.text = "You will now receive application notifications directly to your desktop"
notification.sound = 'alert2'
notification.deliver_to(current_user.noti_token)
The last code block is pretty much all you need to know about sending notifications. Once you have created a notification object, you can use the deliver_to method to send the notification itself. This method accepts a user's Noti token as it's only parameter.
You may be wondering what sounds are available? A full list of sounds can be found in the Noti API documentation. You're probably best just experimenting to hear what each of these sound like.

And there you have it!
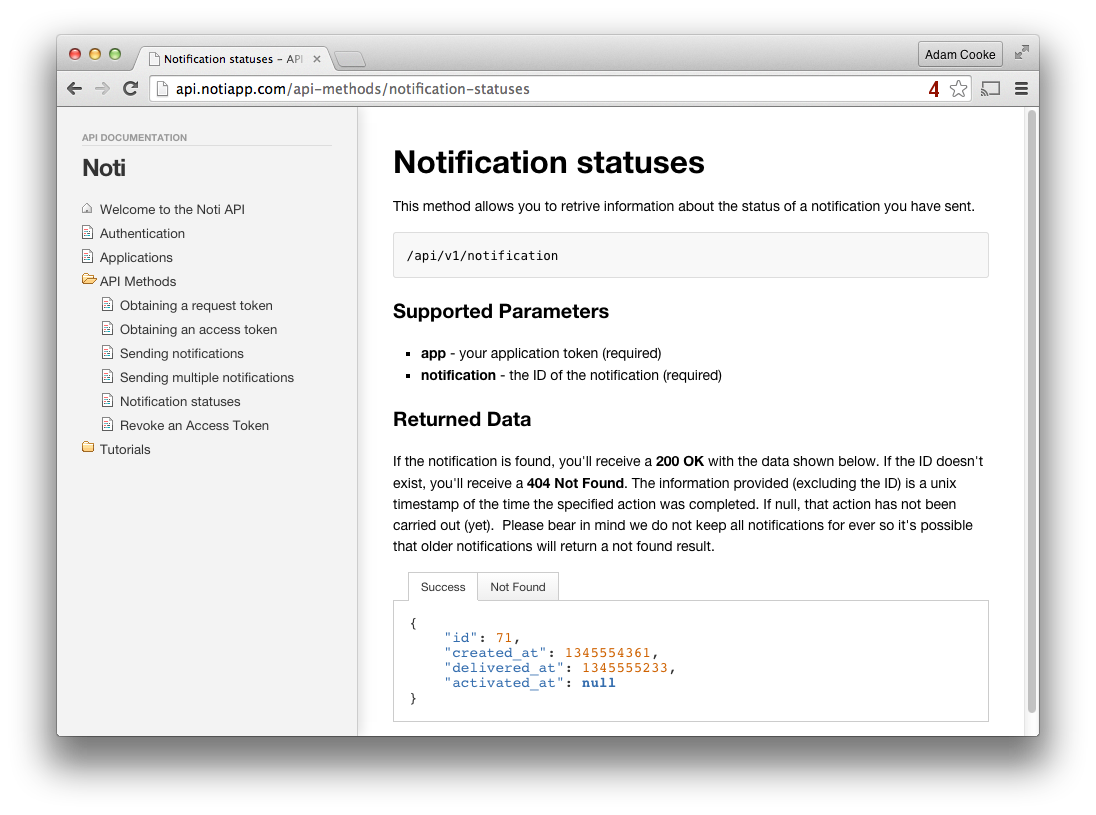
Congratulations - you now have desktop notifications in your web application! You may want to explore additional features like bulk-sending notifications and obtaining notification display statuses. Full details about these can be found in the Noti API docs or on the gem's Github page.
